Label
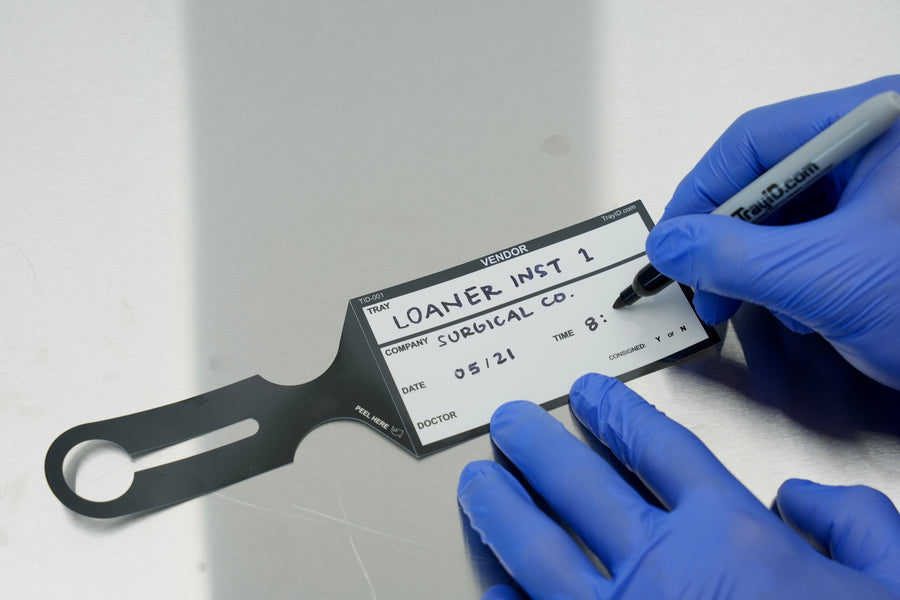
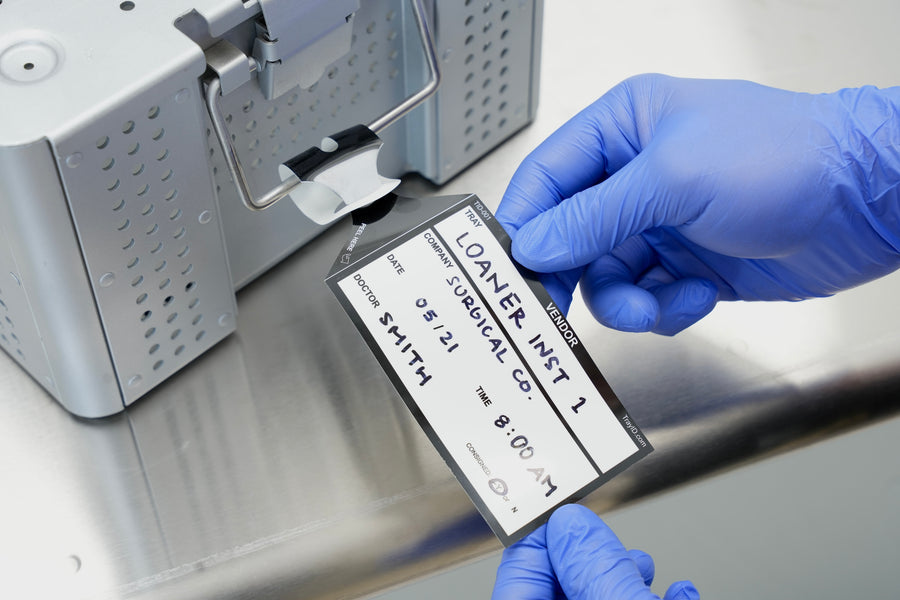
Write the tray, vendor, surgeon and date with a TrayID permanent marker. The ink locks instantly.
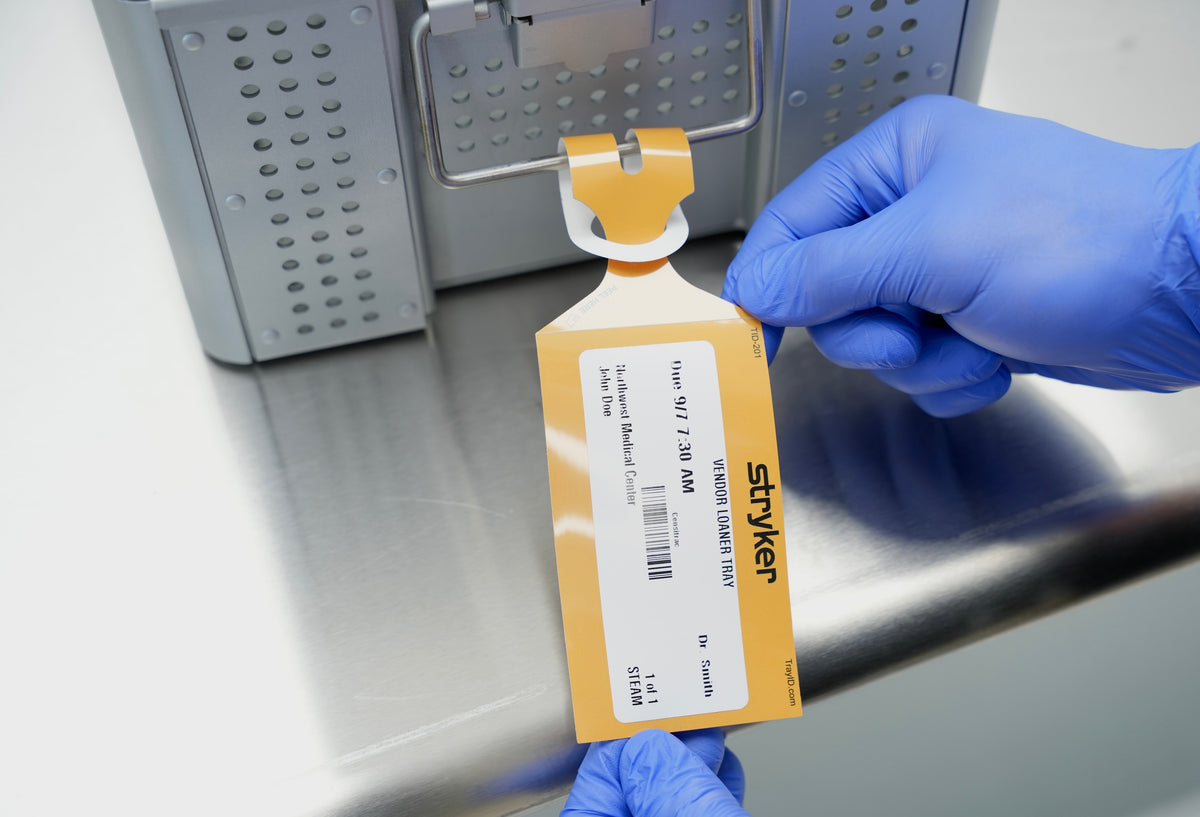
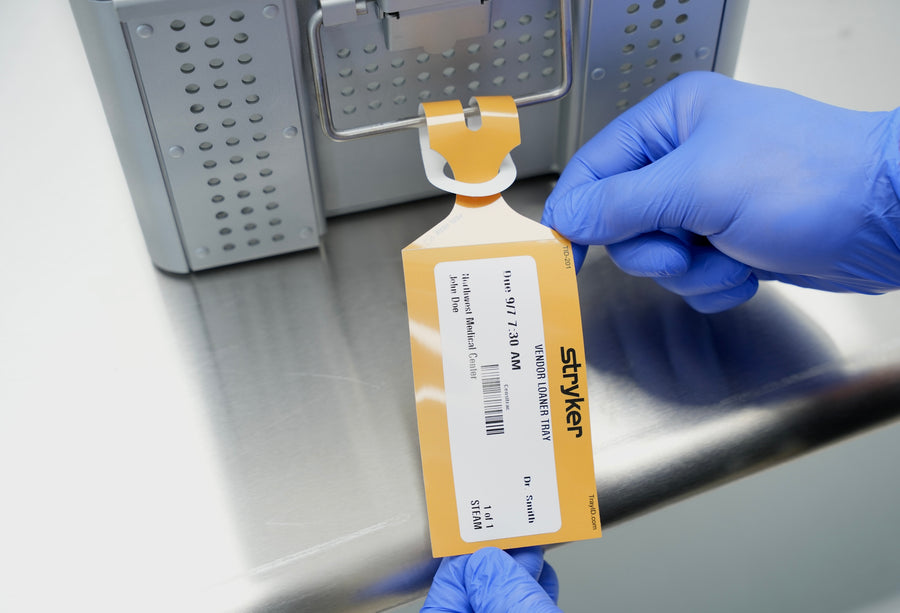
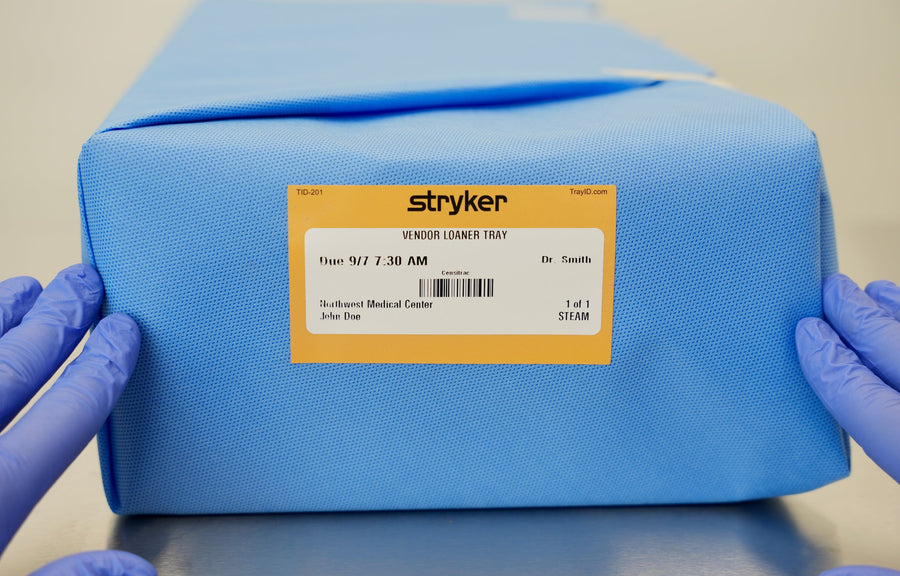
Print your barcode label and place it on the tag's built-in label panel.


How It Works
Whether you write on tags or print barcode labels, TrayID fits the way you already work. The tag becomes the label.
How does your team label trays today?
Same tag, same four steps. Pick one to see it your way.
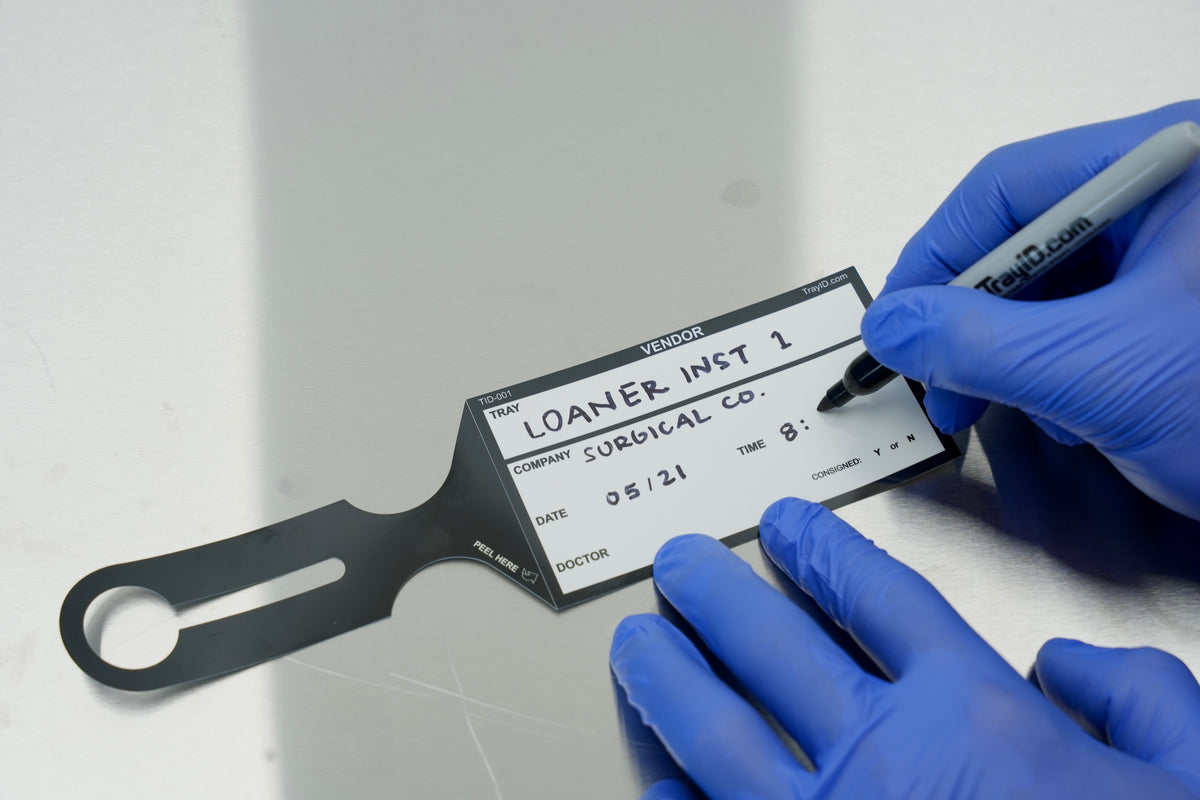
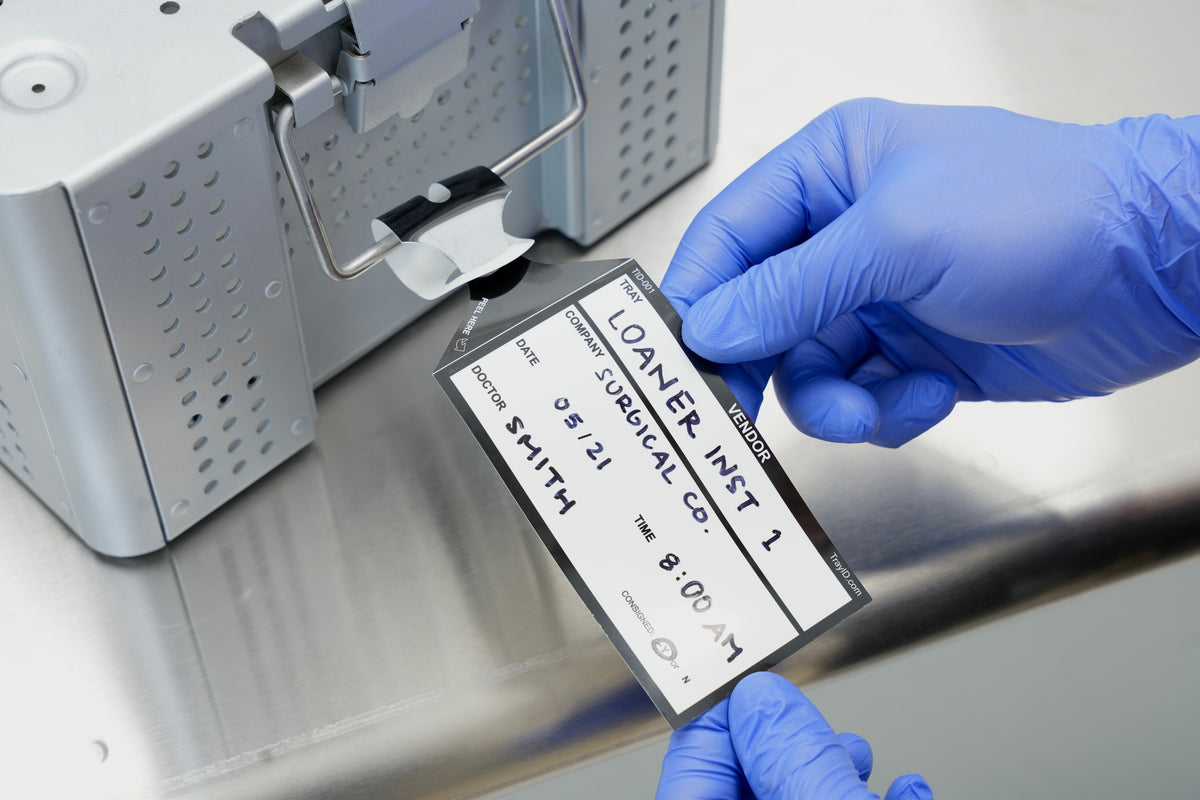
Write the tray, vendor, surgeon and date with a TrayID permanent marker. The ink locks instantly.
Print your barcode label and place it on the tag's built-in label panel.
Loop the tag onto the tray handle. No zip tie needed.
Loop the tag onto the tray handle. No zip tie needed.
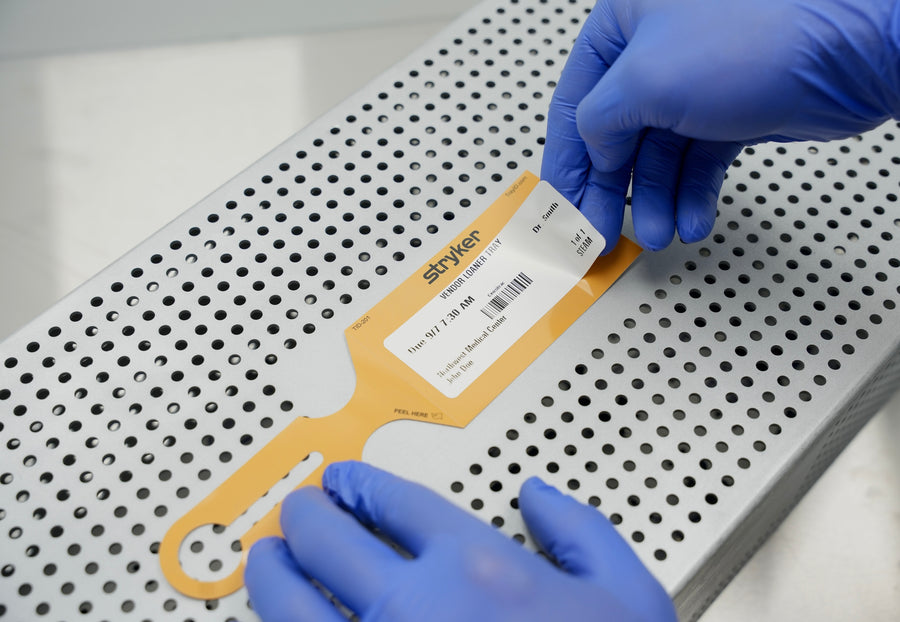
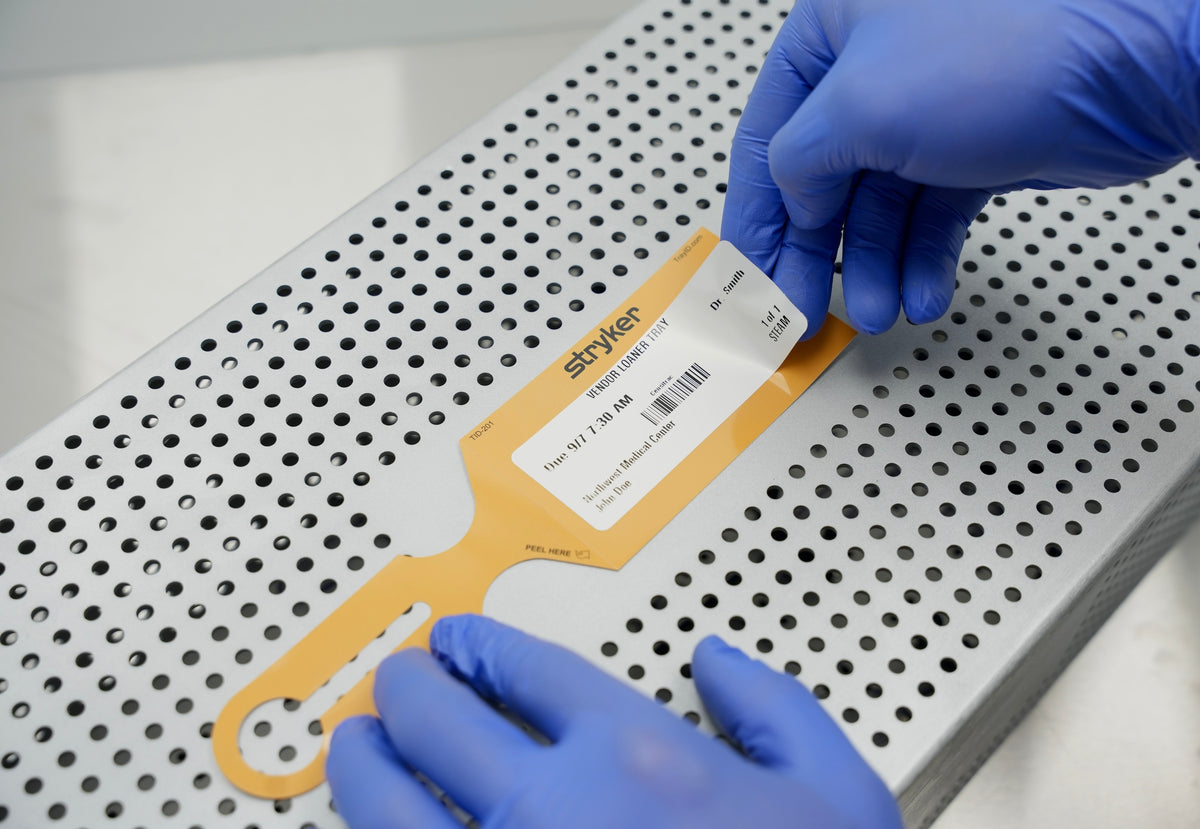
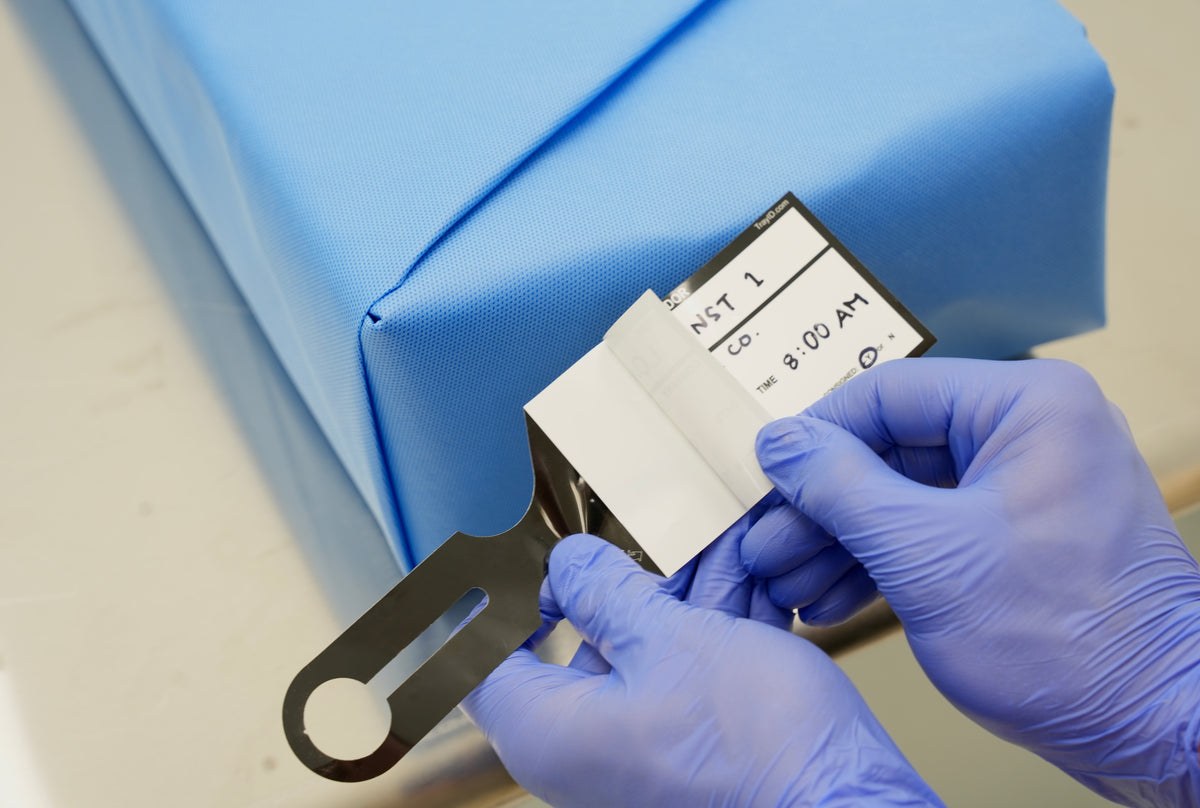
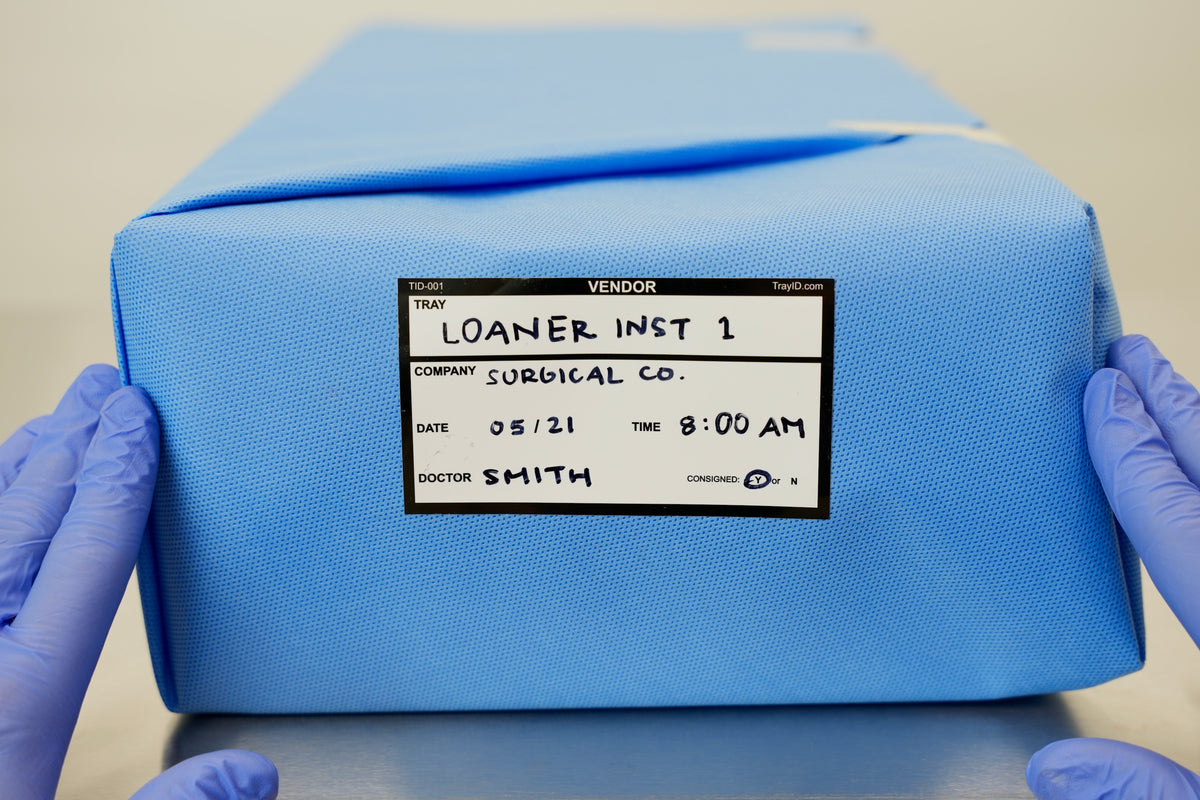
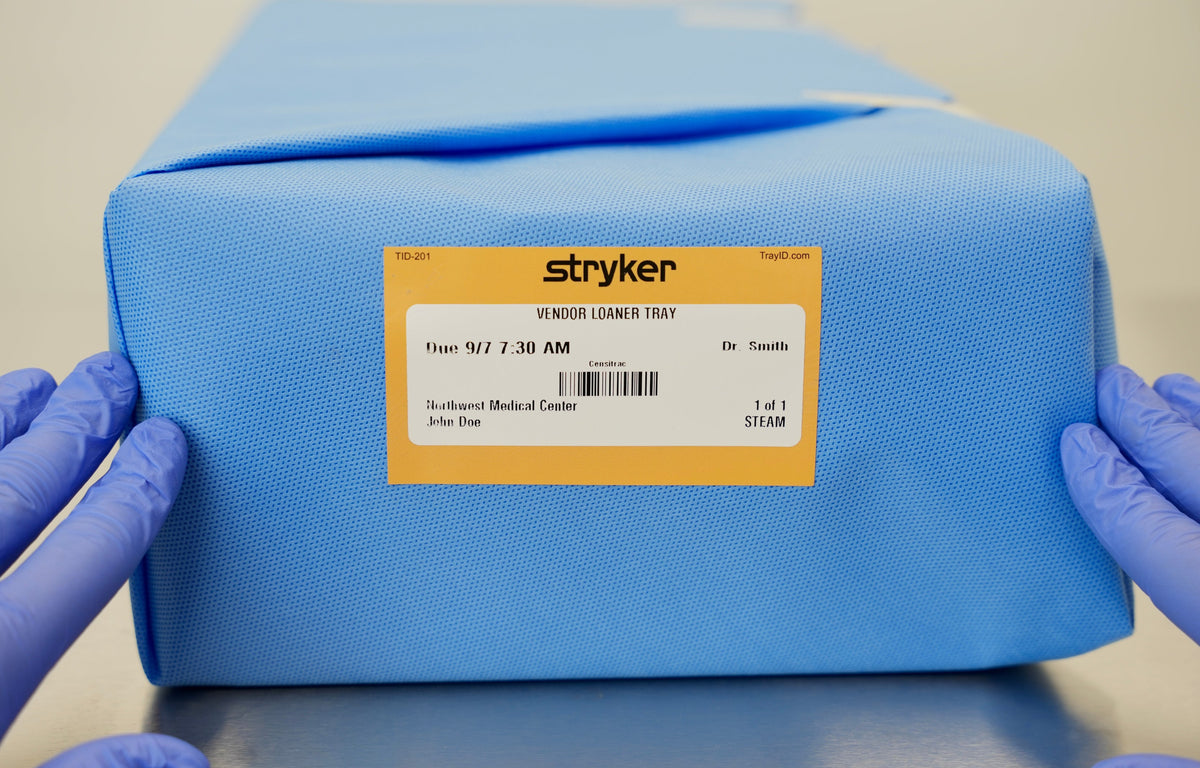
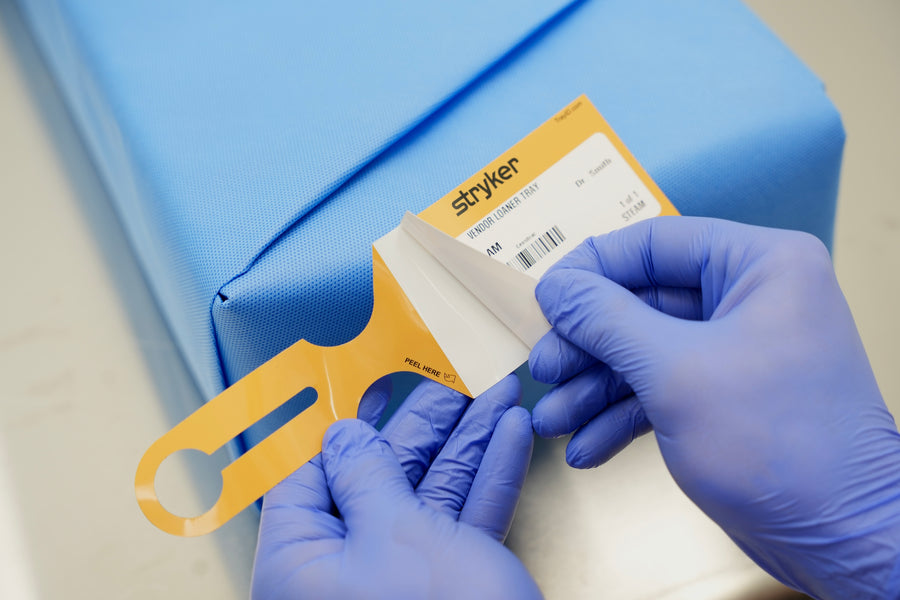
After the wash, peel the built-in adhesive label right off the tag.
After the wash, peel the built-in adhesive label right off the tag. No need to reprint a label.
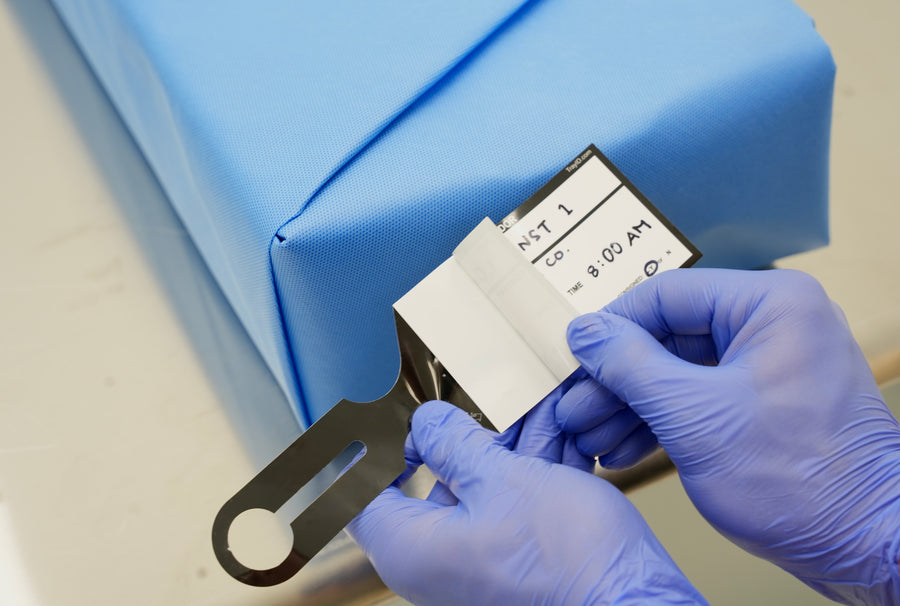
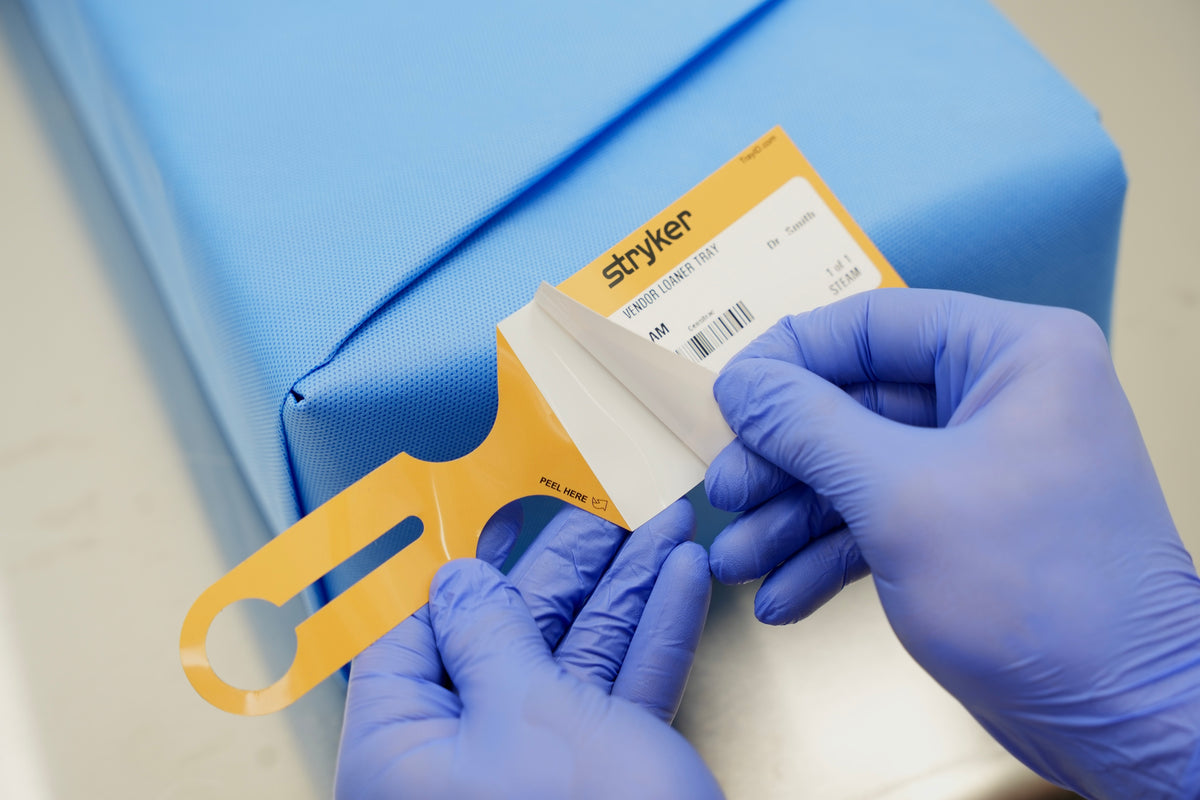
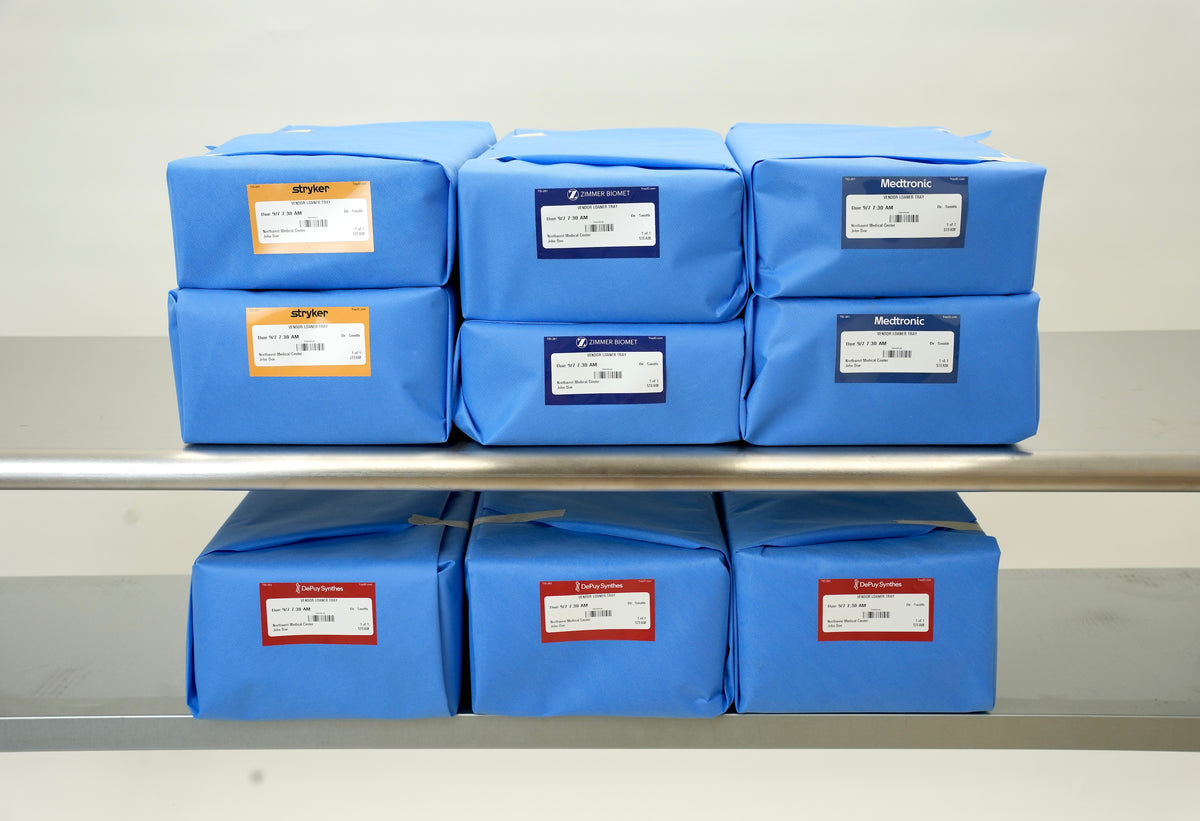
Press the label onto the wrap. The medical-grade adhesive stays bonded through the autoclave cycle. No tape needed.
Press the label onto the wrap, ready to scan. The medical-grade adhesive stays bonded through the autoclave cycle. No tape needed.
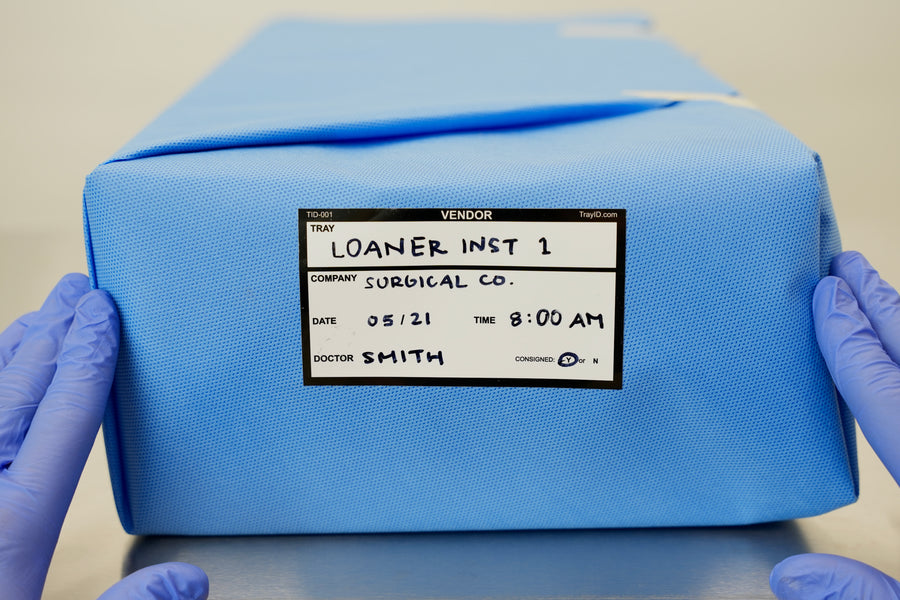
Your handwriting goes from the tray handle to the wrap. No rewriting and no tape.
Your barcode label goes from the tray handle to the wrap. No reprinting and no tape.
Brand-colored labels let SPD techs, OR staff and vendor reps spot whose tray is whose from across the room.

Get Started
Help us get you to the right team member.

For Hospitals & SPD Teams
Looking to Speed Up
Wrap Times?
Get a custom quote for your department. No billing info required, and a real person responds within 24 hours.
Get a Quote →
For Vendor Representatives
Want Your Brand on
Every Tray?
Custom-colored tags with your company logo. Select your company and order in minutes.
Order Tags Now →